
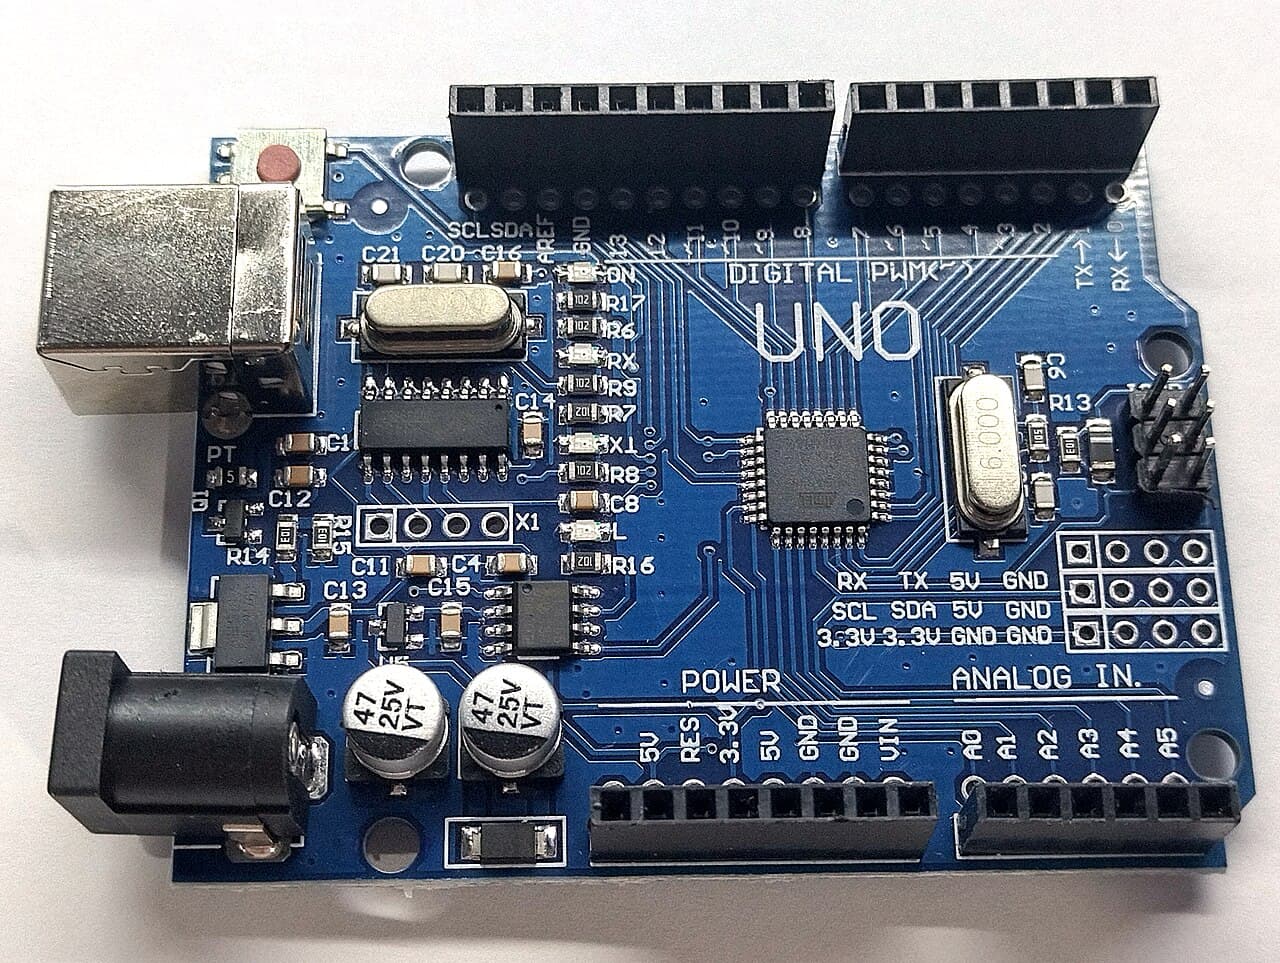
Arduino compatible · UNO-R3
Arduino Uno R3
Specification
- Part number
- UNO-R3
- Manufacturer
- Arduino compatible
- Stock code
- MCU-UNO-R3
- Category
- Atmega
- Supply voltage
- 5 V
- Connection
- USB
- Protocol
- I2C
- Protocol
- SPI
- Protocol
- UART
- Mounting
- Through-hole
- Availability
- 30 in stock
Details
The board most people start on, and the one most Kenyan workshops keep a drawer of. An ATmega328P at 16 MHz, 14 digital I/O and 6 analog inputs, powered over USB-B or a barrel jack. Shields stack straight onto it, which is why it stays in service long after you have outgrown it.
Stock here is Arduino-compatible rather than Italian-made, so the USB-serial chip is usually a CH340 — on Windows you may need the CH340 driver before the port shows up. If uploads fail with an avrdude sync error, try Tools > Processor > ATmega328P (Old Bootloader).
Ask about this part
Answers come from this listing and the assistant can still be wrong — the manufacturer's datasheet is what governs. For anything you are going to wire up, check it there or ask us.
Helpful links
Using this part
Starting points, not finished firmware. Check them against the datasheet.
Blink the on-board LED
// Nothing to wire — the LED is already on pin 13.

void setup() {
  pinMode(LED_BUILTIN, OUTPUT);
}

void loop() {
  digitalWrite(LED_BUILTIN, HIGH);
  delay(1000);
  digitalWrite(LED_BUILTIN, LOW);
  delay(1000);
}
Read a potentiometer and dim an LED
// Pot wiper -> A0, outer legs -> 5V and GND
// LED anode -> D9 via a 220R resistor, cathode -> GND

void setup() {
  Serial.begin(9600);
  pinMode(9, OUTPUT);
}

void loop() {
  int raw = analogRead(A0);   // 10-bit: 0..1023
  analogWrite(9, raw / 4);    // 8-bit PWM: 0..255
  Serial.println(raw);
  delay(50);
}